Sub-Total: $0.00
The Adjustable Pocket Door Guide Instructions
Thank you for choosing Niftyfixits - Your solution for sliding door noises
Materials Included:
- 2mm Allen key to adjust set screws
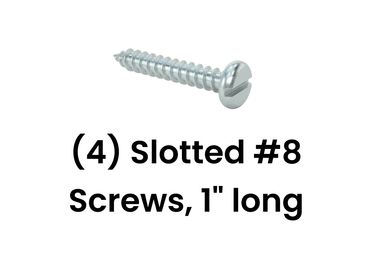
- (4) #8 x 1" slotted screws
Tools needed:
- Pencil
- 1/8" (~3.5mm) drill bit
- Drill
- Flat head/ slotted driver
Installation Steps:
-
- Ensure the slider and wedge are separated before installation.
- Measure your desired height from the floor on both sides of the door, and place a small mark
- Place the wedge into the door's pocket, aligning parallel to its motion, align to your marks in step 2, and mark the holes for drilling.
- Using a 1/8" drill bit, pre-drill all four holes to avoid splitting your trim.
- Secure the wedge brackets using two #8x1" screws per side (pre-drill to avoid trim splitting).
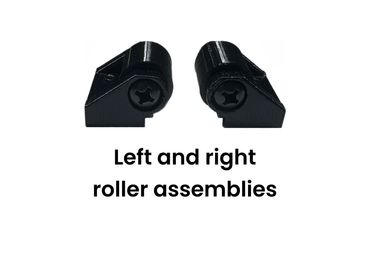
- Install the roller assembly onto the wedge bracket's dovetail on both sides.
- Slightly pull the door out, and adjust the slider towards the center where the rollers meet the door.
- While maintaining comfortable tension, tighten set screws with the provided 2mm Allen key.
- Avoid over-tightening; the set screws only need to secure the assembly in place.
A correctly installed pocket door guide, with the bolt heads in the upright position.
A white adjustable pocket door guide is installed on a white door, slightly ajar.
With the door pulled out slightly, you can access both rollers, and adjust the tension on the door.


